
Organize group classes
Use a group class when several people share a trainer, time, and space. Unlike an individual appointment, it has an attendee list and maximum capacity.
Create the class
- Select New appointment or an empty calendar interval.
- Choose Group class.
- Complete the title, time, and trainer.
- Enter the capacity.
- Search for clients and add them as attendees.
- Select required rooms or equipment and choose Create appointment.
A resource is reserved once for the whole class, not once per attendee.
How places are assigned
Attendees are ordered by when you add them. The first are Confirmed until capacity is full; the remainder move to the Waitlist. The event shows confirmed places against capacity, such as CrossFit · 8/12.
The waitlist sends no notifications and does not automatically promote someone. Open and save the class after changing attendees to review the order.
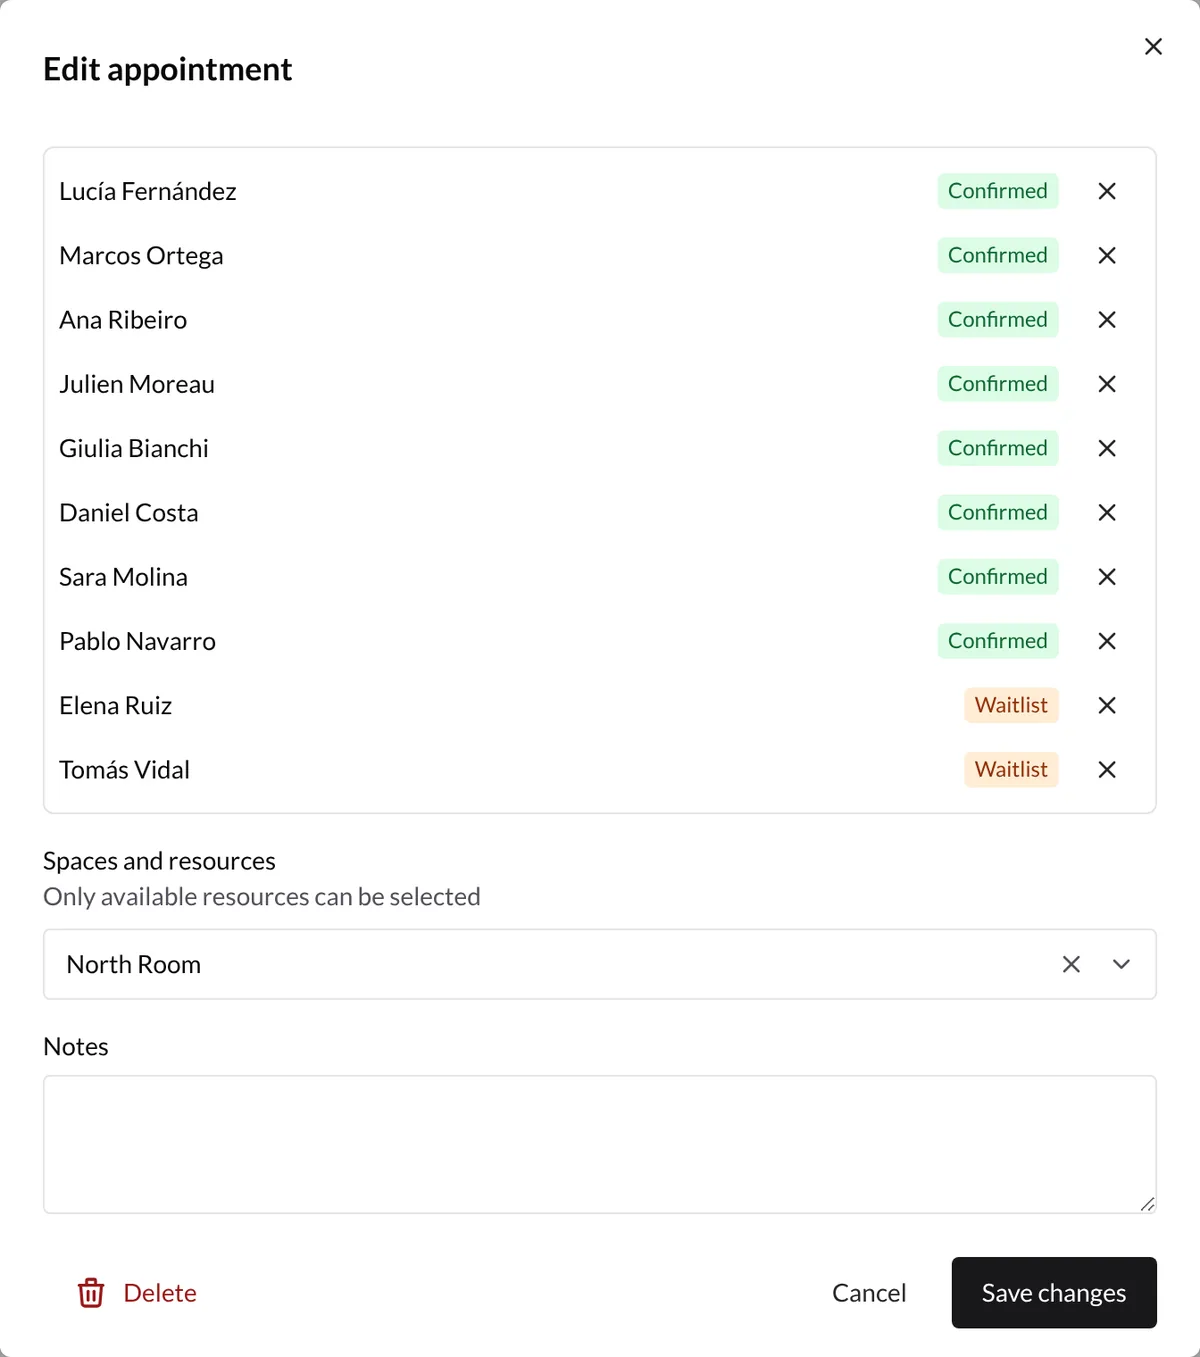
Open the class to add clients or remove them with the X, then save. This does not create appointments in their apps or send invitations.
Changing capacity recalculates confirmed and waiting attendees while keeping their order. Class capacity is independent of a resource's informational capacity.
You can move, resize, cancel, or delete a class like any appointment. Confirmed and Tentative classes hold resources; Cancelled classes release them. Return to create and manage appointments.