
How to create an API key?
The TrainerStudio API lets other programs work with your account: create clients from your website or your CRM, assign workouts from an automation or let an AI agent read your data. For those programs to identify themselves as you, they need an API key.
This guide explains how to create, look up and revoke keys. How to use them in requests is covered in the developer documentation.
1. Open the Developers section
Go to Your app → Developers in the side menu (it is also in Settings → Developers). You will see the list of your keys and the View API documentation link.
Only people allowed to manage the account's billing (usually the owner) see this section.
2. Create a key
- Click Create API Key (top right).
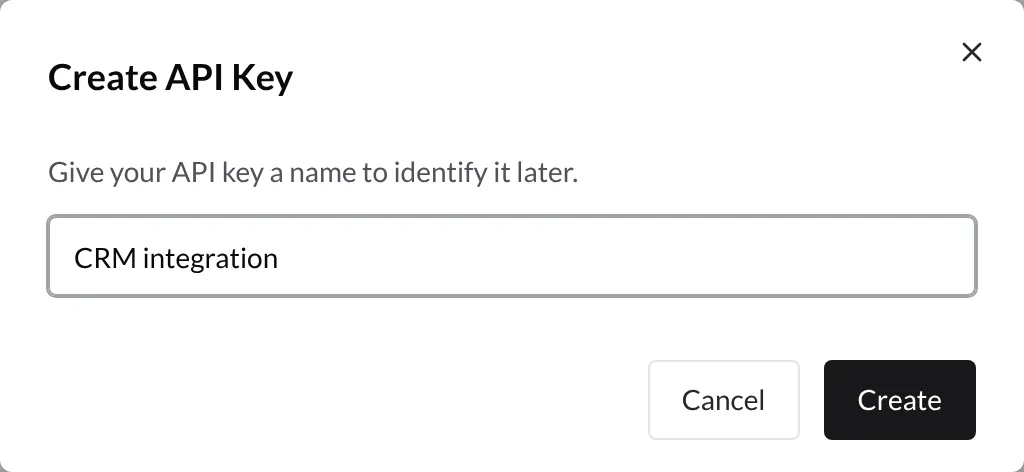
- Give it a name that helps you recognize it later, for example the system that will use it: "CRM integration", "Zapier", "AI agent".
- Click Create.
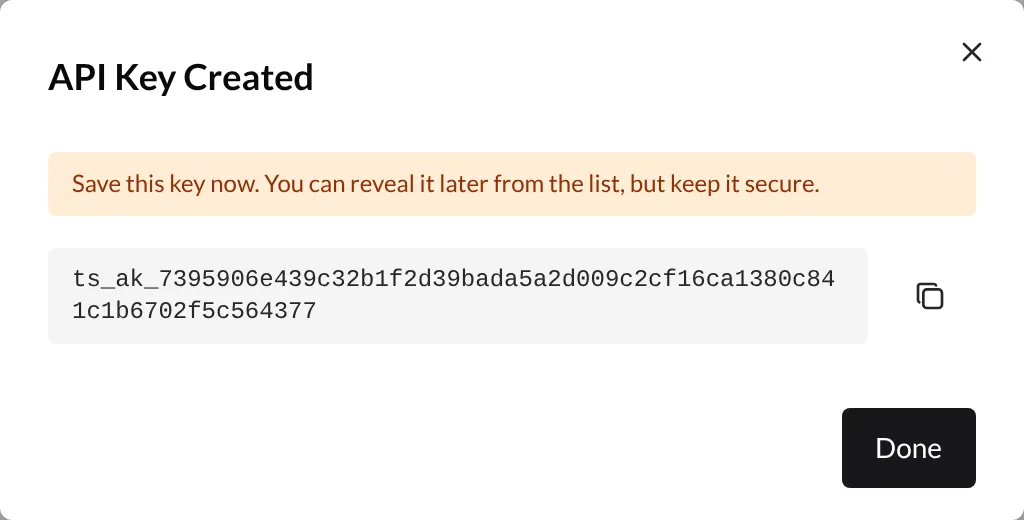
The API Key Created window opens with the full key. Click the copy button on its right and paste it into the system you are connecting. Then click Done.
3. Look up your keys
The list shows each key with its Name, the beginning of the Key (it starts with ts_ak_) and its creation date (Created).

- If you need to copy a key again, click the eye icon (Reveal key): the API Key window opens with the full key and the copy button.
- Create one key per integration. That way, if you stop using a tool one day, you can revoke only its key without affecting the others.
4. Revoke a key
When an integration no longer needs it, or if you think someone else has seen it, click the trash icon of that key. In the Revoke API Key window, confirm with Revoke.
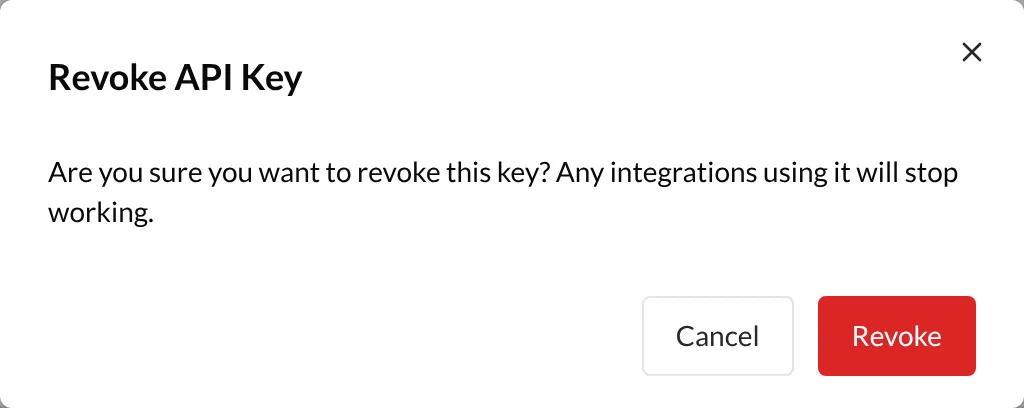
Revocation is immediate: any integration using that key stops working right away. It cannot be undone; if you need it again, create a new key and update it in the integration.
Good to know
- Treat it like a password. Whoever has the key can work with your account's data. Do not share it by email or publish it in visible code.
- You can reveal it at any time. That is why this section is sensitive: do not leave your session open on shared computers.
- One key per integration, with a clear name, so you can revoke them one by one.
- Some actions cannot be done with a key, such as managing the keys themselves, the team or deleting the account: they are always done from the dashboard. The details are in the authentication documentation.
- Want to connect ChatGPT or Claude? You do not need a key: follow the dedicated guides, which use a secure sign-in.