
How to view and compare progress photos?
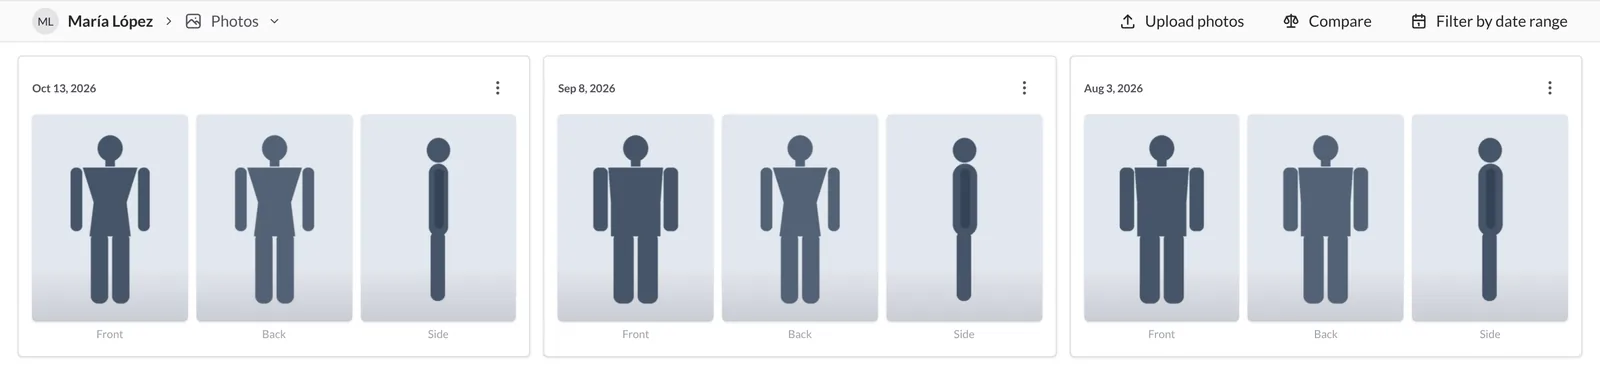
Progress photos are one of the best ways to see changes the scale does not show. In TrainerStudio each photo record has a date and up to three images: Front, Back and Side. Your client can upload them from their app or you can upload them from the dashboard, and from the client's profile you can review them, filter them by date and compare them side by side.
1. Open a client's photos
Open the client's profile and choose Photos in the sections menu. You can also go straight there from the Customers list: Options → View photos.
You will see one record per date, newest first, each with its front, back and side photos. Click a photo to see it full screen; use the keyboard arrows to move to the next or previous one.
2. Upload photos yourself
If your client sends you the photos another way or you take them together in an in-person session, you can upload them:
- Press Upload photos.
- In Select date, choose the record's date (today by default).
- Add at least one photo in Front, Back or Side (PNG or JPEG). You can remove a photo before uploading it with the ✕.
- Press Upload.
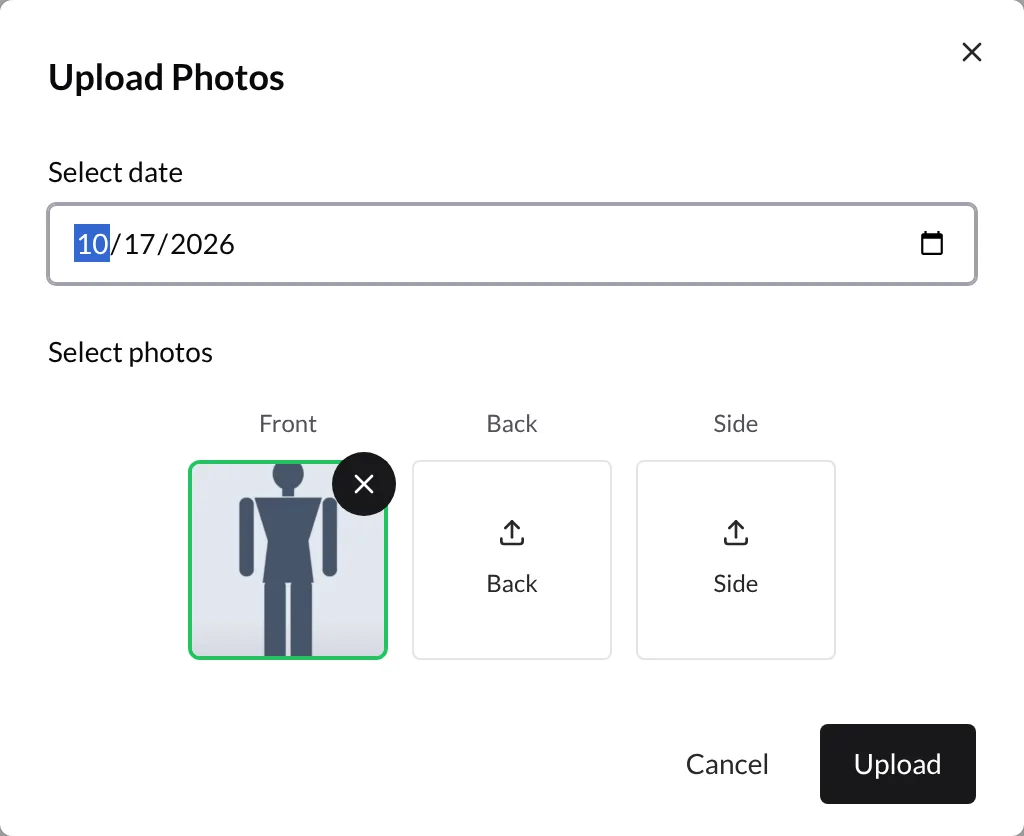
The record appears in the gallery with the date you chose, and your client also sees it in their app.
3. Filter by date
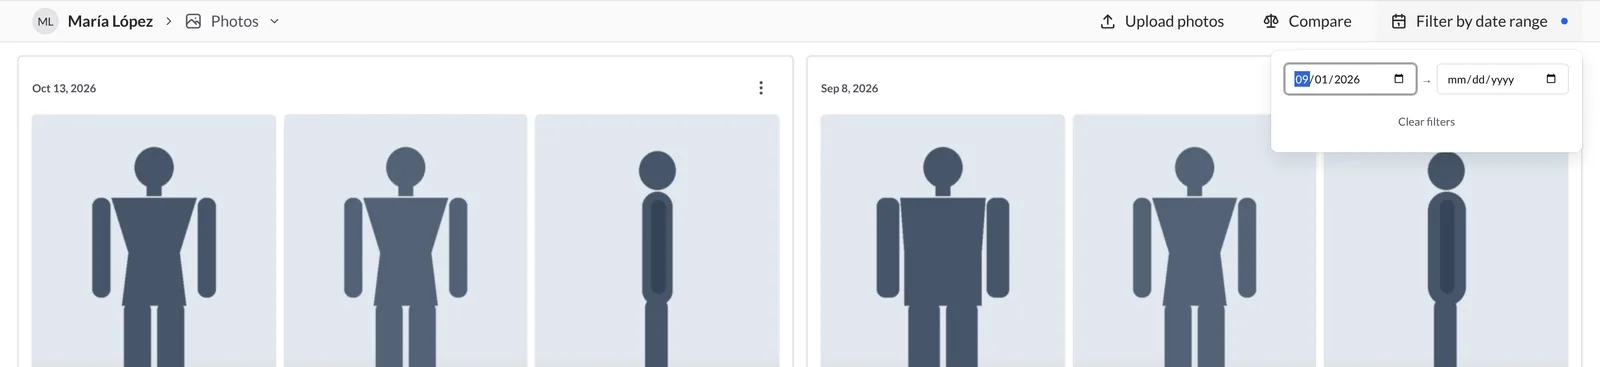
Press Filter by date range and enter a start date, an end date or both. The gallery only shows the records in that period and the button shows a blue dot while the filter is active. To see everything again, press Clear filters.
4. Compare a before and after
- Press Compare. The records become selectable.
- Click the record you want as Before and then the one you want as After. Each chosen record shows its order number and the counter shows how many you have picked (1/2, 2/2).
- When you pick the second one, the Photo Comparison opens, with both dates side by side and the front, back and side views paired up.
- Press Exit to return to the gallery.
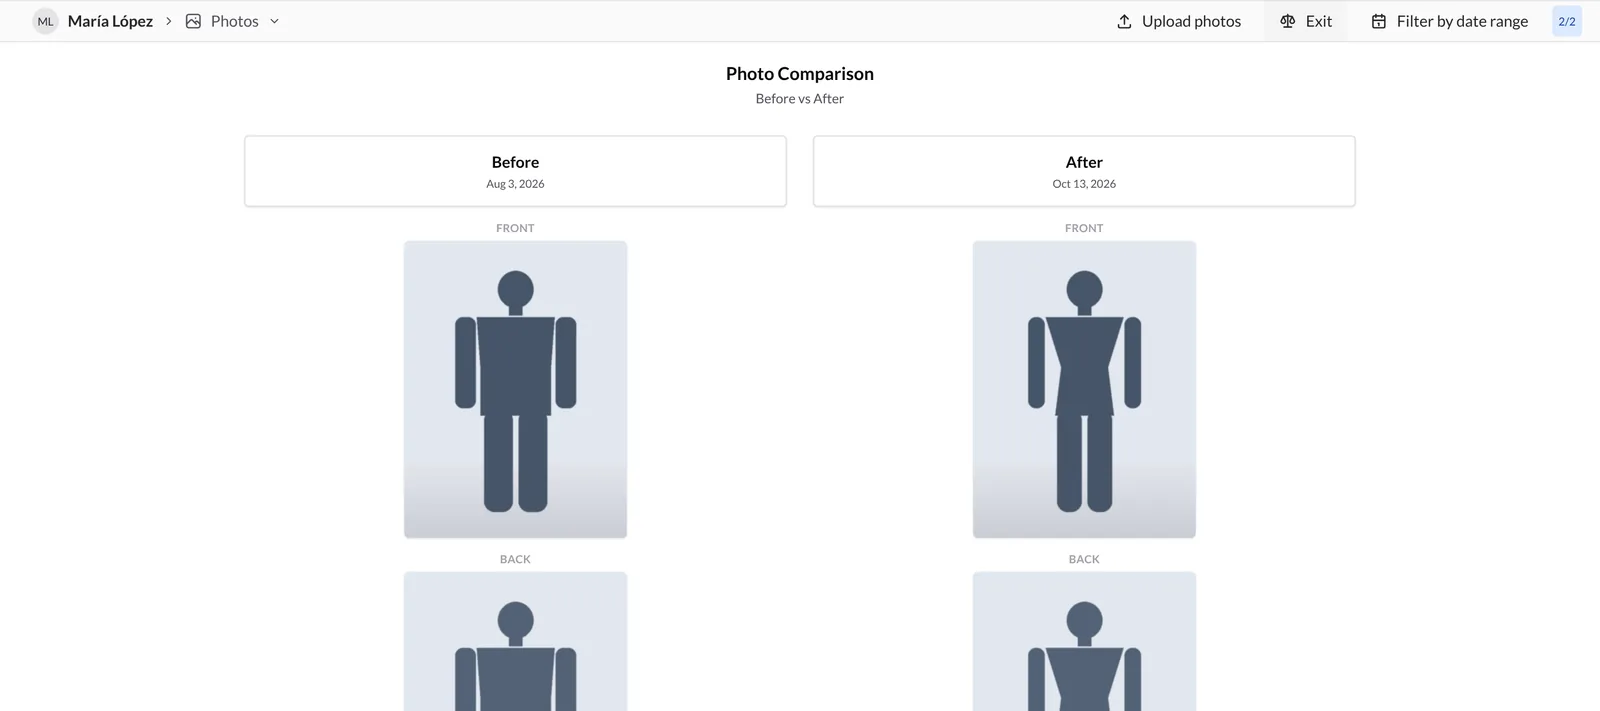
You decide the order: the first record you pick is always "Before" and the second one "After", even if it is older.
5. Delete a record
Open the record's ⋮ menu and press Delete all photos. The three views for that date are deleted without asking for confirmation and it cannot be undone, so make sure you pick the right record.
6. What your client does and how you find out
Your client uploads their photos from the Progress → Progress photos section of their app, choosing the date and the front, back and side views. The photos show up right away in the Photos section of their profile.
To find out without having to check:
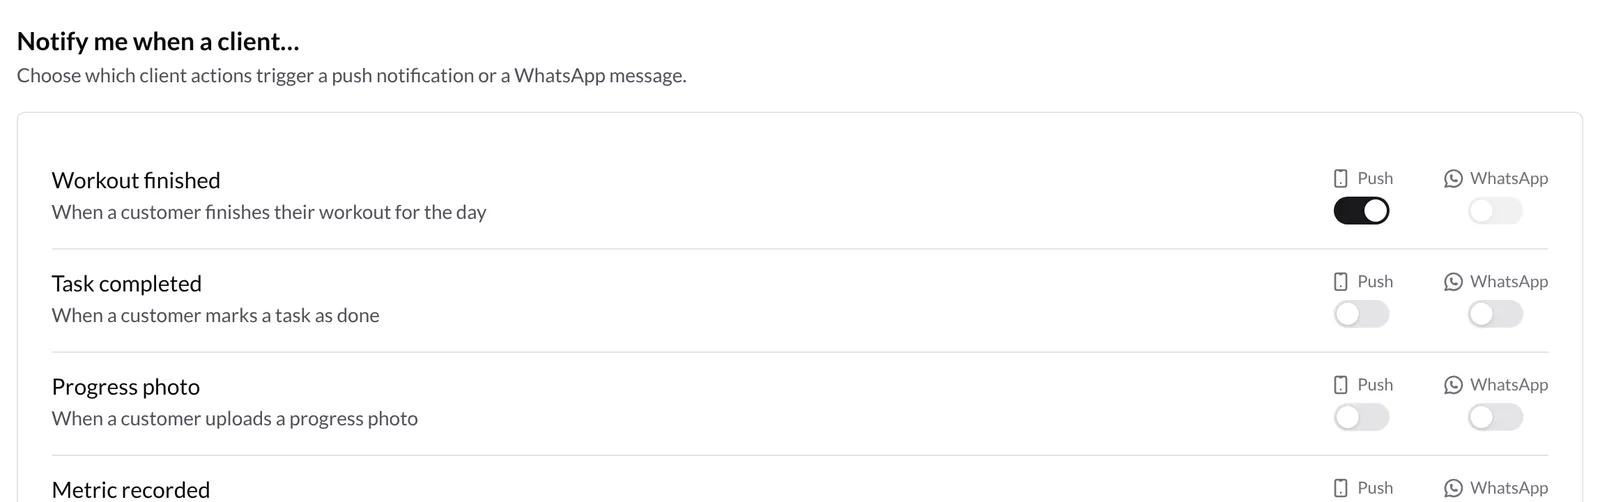
- Get notified. In Your app → Notifications → Preferences, under Notify me when a client…, turn on Progress photo for push or WhatsApp. It is off by default.
- Check their activity feed. Each new record shows up as Progress photos uploaded in the client's activity feed.
Good to know
- Three views per date. Each record has front, back and side; you do not have to fill in all three.
- You choose the date. When uploading you can pick a past date, which is handy for loading old photos and keeping the whole history in one place.
- Always compare under the same conditions. Ask your client for photos with the same light, clothing and pose: the comparison will be much more useful.
- Deleting is final. "Delete all photos" does not ask for confirmation.
- Photos are private between your client and you (and the trainers on your team with access to that client).
Related guides
How to track progress with metrics?
Use TrainerStudio's metrics to measure anything: body weight, body measurements, athletic performance, and more. With evolution charts to make better decisions.
How to review a client's activity and notes?
Use the activity feed to see a client's workouts, metrics, photos and forms at a glance, and keep private notes that only you can see.